Search This Blog

Studebaker M15A-20 "Mr. Potato Head"

Thursday, December 1, 2016

Condenser Solution

After experiencing a condenser failure I decided to investigate why these guys failed and why so often. Here is a link where someone else investigated:


http://www.nonlintec.com/sprite/cap_failure/


https://www.smokstak.com/articles/capacitors.html 

So here are some pictures of the condenser that failed:

I ground the edge off the condenser can to pull out the guts.


 What can be seen here is evidence of arcing on the top of the condenser end where the lead contacts the foil.

 Other end of the condenser there is no arcing.

 Lead end show evidence of arcing. I also noticed that the lead is soldered to a disc that contacts the foil. This lead was not bent over completely and appears to have protruded into the foil maybe shorting out the condenser.


This construction design is substandard in my book. My issue is mainly with how the foil is connected to can and lead. These are just pressure connections and of different metals. Additionally, the unit is not hermetically sealed so that corrosion can compromise these poor connections.

My solution is to make my own condenser using a high quality capacitor.

Parts needed:
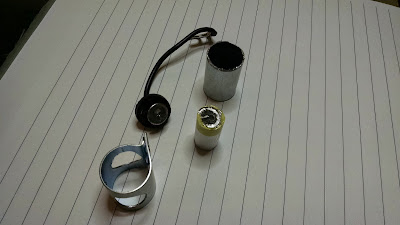
1. Recovered lead from old condenser
2. Recovered end cap from old condenser
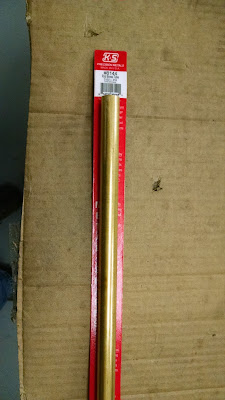
3. Brass tube, 21/32" x 0.014" (8144)
4. Capacitor, 0.22 µF, 1,000 VDC (940C10P22K-F)
5. Brass shim stock
6. RTV


 Brass tube to house the capacitor.

 Checking fit of the capacitor in the tube and tube in the holder.

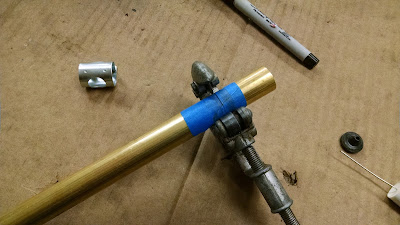
 Cutting the tube.

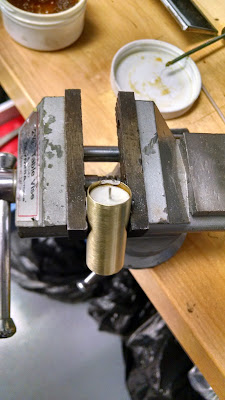
 Made a end cap and soldered into place with 50'/50 solder.

 Tube housing cleaned up.

 Because the capacitor fits so tightly in the tube I used thin sheet brass to bring the internal lead to the other end.

 Inserting capacitor into the prepared tube.


 Soldering the internal connection to the inside of the tube.

 Soldering the lead to the capacitor.

 Applying RTV to the end of the assembly.

 Inserting the rubber end cap into the the tube.
 Checking correct capacitance to be ~0.22 µF.

 Hi-POTing the capacitor. My capacitance tester only goes to 600 volts, oh well.

 Completed unit ready for assembly into the distributor.

 Testing fit.
Thursday, July 28, 2016

Canopy

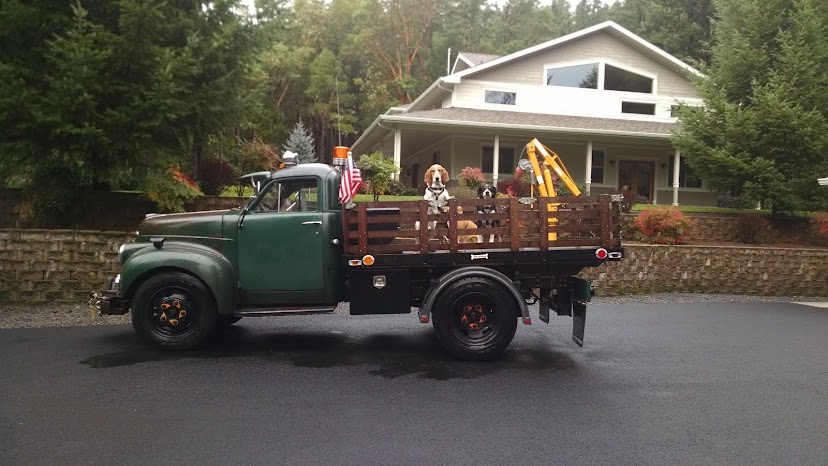
Finally got around to building and installing a canopy for the dogs. The hoops are galvanized steel 3/4" EMT. Hoops mount into pipes mounted to the bed and held in place with 1/4" pins. Each section is modular so that any number of hoops can be used. The canvas I used was 96" wide but it is also available up to 120" so a canopy for the entire bed can be easily be made from one piece. I made the hoops to be low enough that I can park in the shop. Hoops are connected together with SS 1/4" rod threaded with 1/4-20. Each section is attached to the next section with a threaded barrel. Still figuring out how to terminate the attaching ropes...


Monday, May 30, 2016

2016 ATHS National Convention & Truck Show

Alan Trickle came over Friday morning and we drove up to the event at the Salem Fair Grounds. It was about a 215 mile trip there and except for the four mountain passes MPH did great. Had to down shift to third near the peaks of those four passes. Fortunately my fellow big rigs were in the same boat (misery loves company). No problem taking Interstate 5 to get there and back. On the down slopes I could push the clutch in and coast, got up to 70 MPH on one slope, record for MPH. We met up with Zane and his buddy Kurt. Both Zane and Kurt brought Stude tucks. Kurt brought a rear axle down from Zane's bone pile for Alan's bullet nose and we transferred it to MPH for the trip back down to Southern Oregon where Alan and I live.


Kurt, Zane, Alan, John

Don't know the actual count for show trucks but when we came in on Friday it was at about 500. Some say it was about 1,000. There were only 5 Studes, MPH, Zane's truck, Kurt's truck, an M5 and a 2R. But oddly there was a couple dozen Diamond-T's. 90% of the trucks were big rigs.