http://www.nonlintec.com/sprite/cap_failure/
https://www.smokstak.com/articles/capacitors.html
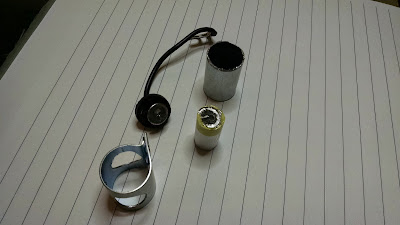
So here are some pictures of the condenser that failed:
I ground the edge off the condenser can to pull out the guts.
What can be seen here is evidence of arcing on the top of the condenser end where the lead contacts the foil.
Other end of the condenser there is no arcing.
Lead end show evidence of arcing. I also noticed that the lead is soldered to a disc that contacts the foil. This lead was not bent over completely and appears to have protruded into the foil maybe shorting out the condenser.
This construction design is substandard in my book. My issue is mainly with how the foil is connected to can and lead. These are just pressure connections and of different metals. Additionally, the unit is not hermetically sealed so that corrosion can compromise these poor connections.
My solution is to make my own condenser using a high quality capacitor.
Parts needed:
1. Recovered lead from old condenser
2. Recovered end cap from old condenser
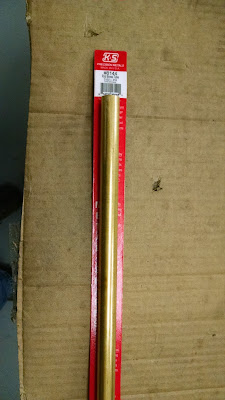
3. Brass tube, 21/32" x 0.014" (8144)
4. Capacitor, 0.22 µF, 1,000 VDC (940C10P22K-F)
5. Brass shim stock
6. RTV
Brass tube to house the capacitor.
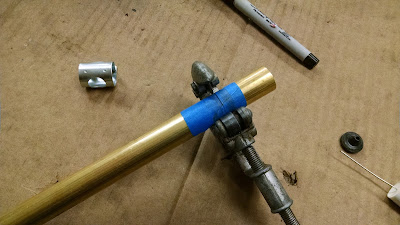
Checking fit of the capacitor in the tube and tube in the holder.
Cutting the tube.
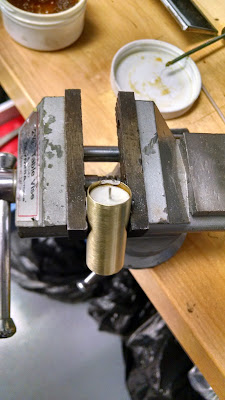
Made a end cap and soldered into place with 50'/50 solder.
Tube housing cleaned up.
Because the capacitor fits so tightly in the tube I used thin sheet brass to bring the internal lead to the other end.
Inserting capacitor into the prepared tube.
Soldering the internal connection to the inside of the tube.
Soldering the lead to the capacitor.
Applying RTV to the end of the assembly.
Inserting the rubber end cap into the the tube.
Checking correct capacitance to be ~0.22 µF.
Hi-POTing the capacitor. My capacitance tester only goes to 600 volts, oh well.
Completed unit ready for assembly into the distributor.
Testing fit.


No comments:
Post a Comment